Screencast Soundcheck
From MusicTechWiki
Revision as of 15:47, 23 January 2022 by Minjae (talk | contribs) (Text replacement - "Category:Shared-Assignment-Instructions" to "Category:Getting-Started-Assignments")
Screencast Production
A screencast (audio video capture of computer screens) is a GREAT way for us to see and hear your work.
If you are new to screencasts, go here: How to Create Screencasts.
For Music Technology assignments, it's very important to capture high quality audio directly from your computer. Using a microphone is not adequate because the audio goes down a generation. Microphones add noise, distortion and reduce the frequency response.
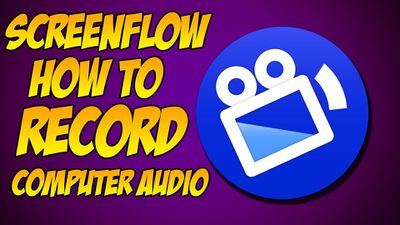
Every ScreenCast application has it's own setup configurations and workflow to achieve this. For example, with ScreenFlow, we need to install an Audio Driver to enable recording of computer audio directly into ScreenFlow.
This might take some trial and error experimentation to figure out.
Instructions
- Import a high quality audio file into Pro Tools (or your DAW.)
- Amazing music from major label superstar hit records are great sources to use.
- 24 bit lossless AIF, WAV or FLAC is best.
- Ripped CDs or 16bit AIF/WAV file are second best.
- High Quality MP3s (256-320Kbts) are OK too.
- Avoid YouTube audio downloads as source material for this assignment. They sound grainy and thin.
- Create a 1 minute Screencast recording of Pro Tools (or your DAW) playing back this audio file.
- Music must be a direct digital capture.
- Please do NOT use a microphone. A mic will sound bad.
- Export as MP4 video file with the best audio quality possible.
- The AAC codec can do 320 Kbts.
- After creating the MP4, check and quality control the file in a media player.
- How does it sound?
- It should sound AMAZING.
To Deliver
Deliver your MP4 as an embedded video media file in this Canvas Assignment.